When curating a Room Mockup, Art Show Planner or Personal Space, ArtPlacer provides a variety of default frames to choose from. However, you can also create custom frames that perfectly match your Artwork’s aesthetic, medium and display style.
The right frame highlights the best qualities of your Artwork, complements its materials, and helps collectors envision how it will look in real life.
Table of Contents
- Enhance your Artwork product pages with framed and unframed views
- Showcasing framed Artworks on a blank background
- Steps to Create a Custom Frame
- Configure Your Frame
- How To Choose a Custom Mat Color
- Frame Materials and How to Choose Them
- Save and Access Your Frame
Enhance your Artwork product pages with framed and unframed views
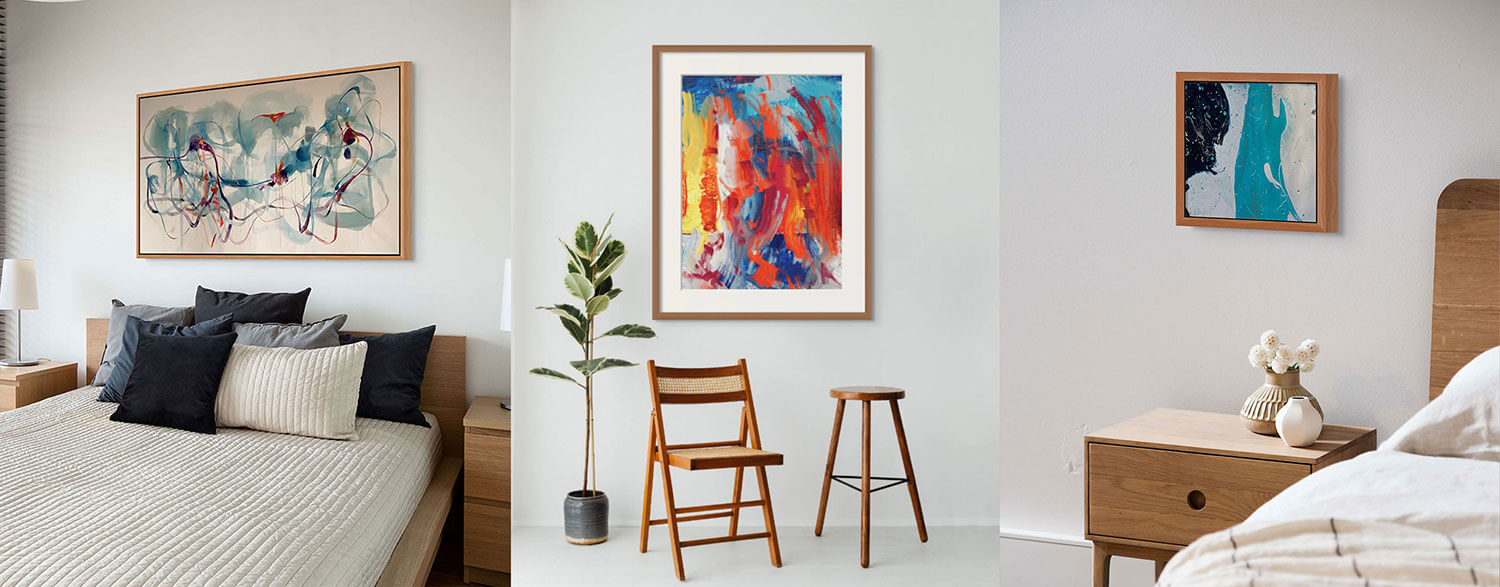
When selling or displaying art online, presentation is everything. Offering both framed and unframed views of an Artwork allows visitors to imagine the piece in different contexts. Some collectors prefer the clean, raw look of an unframed canvas, while others like to visualize how a frame adds depth and refinement.
If you offer framing options, you can use ArtPlacer’s Frame Builder to create accurate digital representations of your frames. This enhances the viewing experience, builds trust with collectors, and increases conversion by helping buyers feel more confident in their purchase.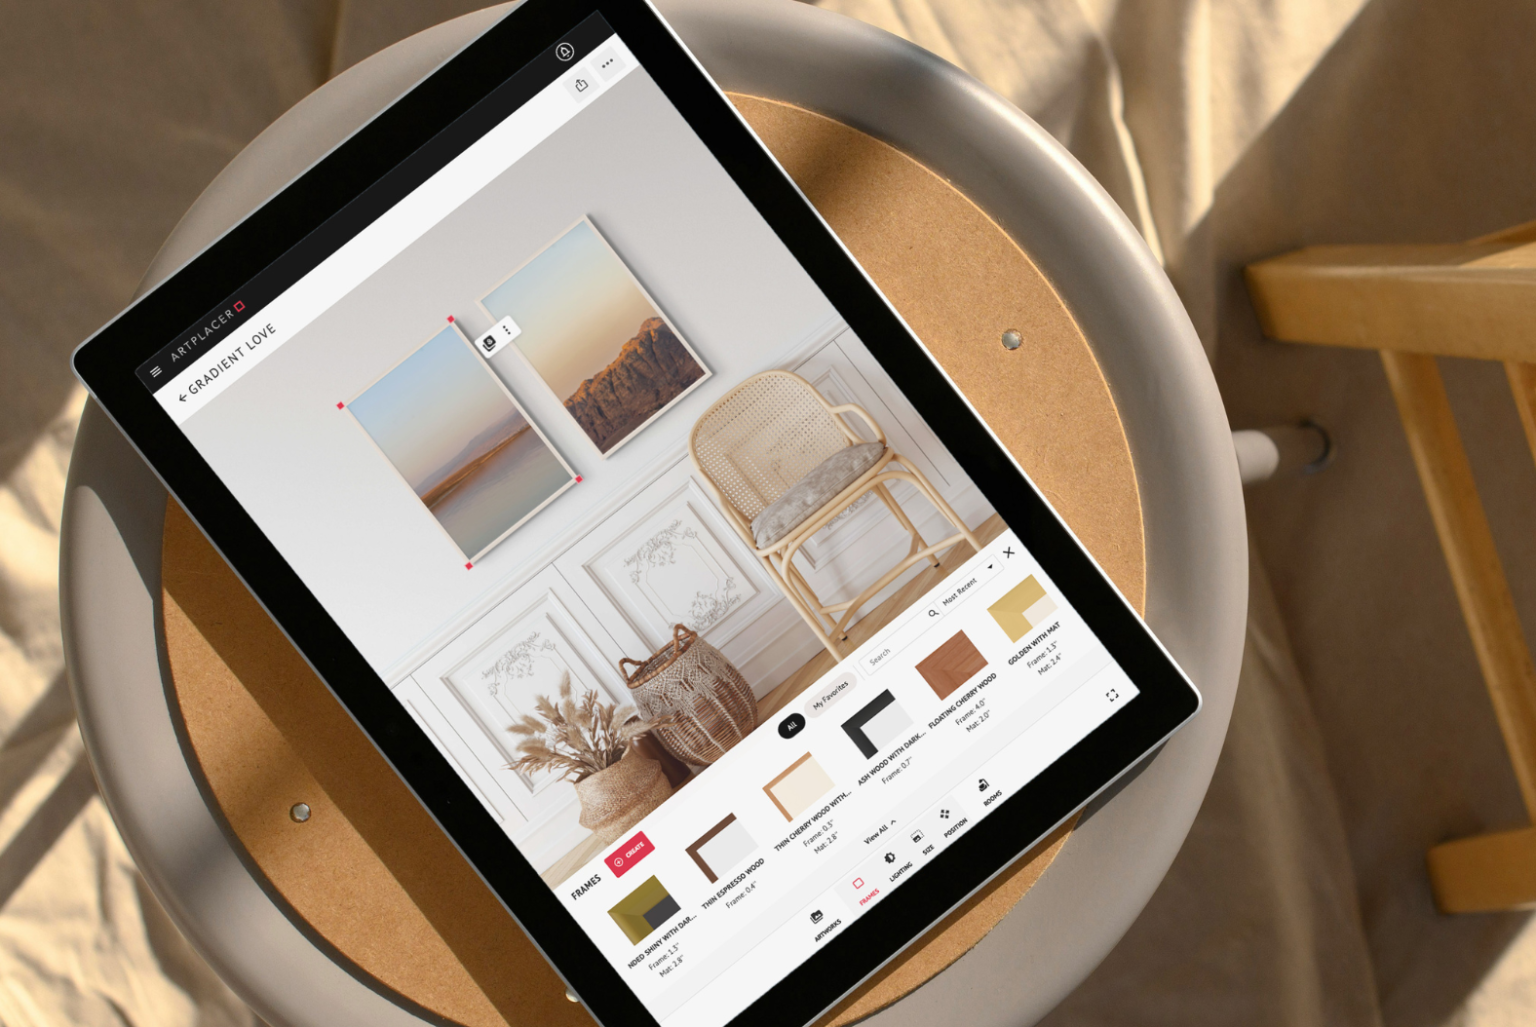
Showcasing framed Artworks on a blank background
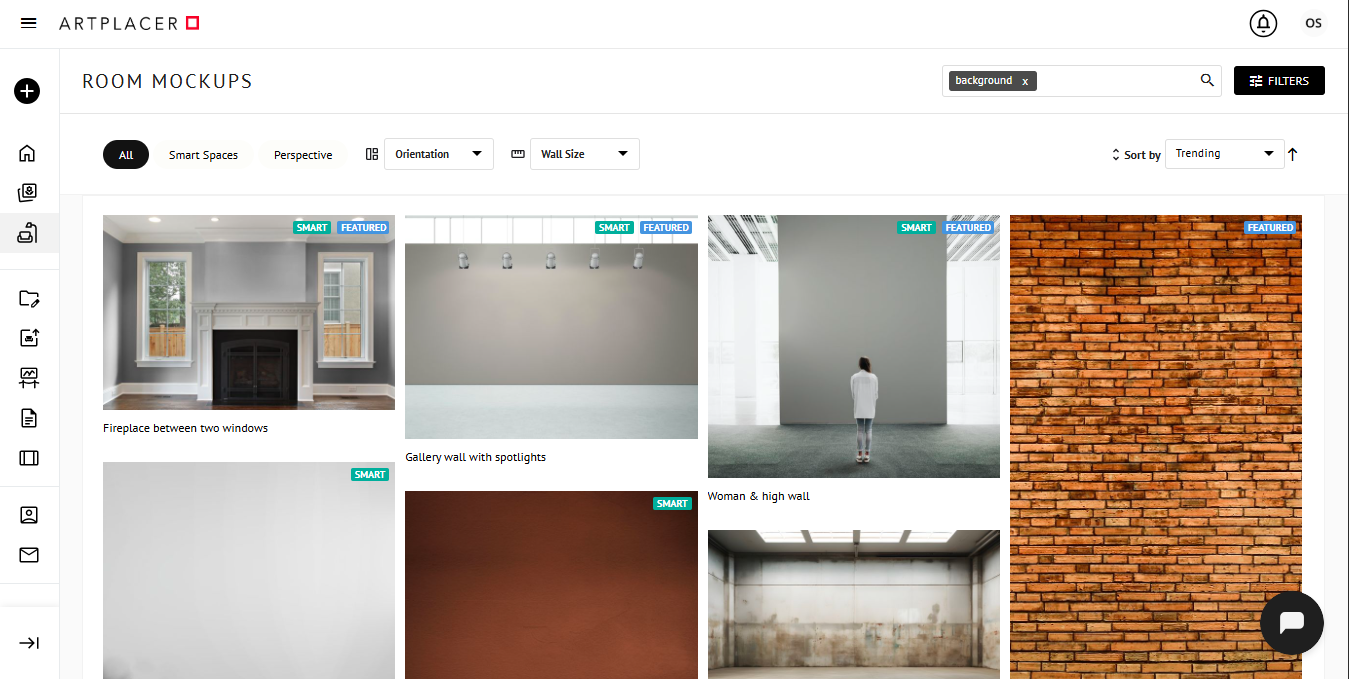
To display your Artwork with just a frame and without showing a visible room or setting, use the Room Mockup titled “Background”. This mockup provides a clean, blank backdrop that focuses attention solely on your framed piece. To do so:
- Open Room Mockups. Go to the search bar in the top right corner and search for “Background”.
- Select the room titled “Background” from the results. This is a Smart Space, so you can change the background color as desired. Keeping it white helps highlight the framed piece on its own, and it’s a perfect addition to product pages.
- Choose the Artwork you want to display, and frame it following the steps in the next section of this article.
Steps to Create a Custom Frame
- Add an Artwork to a Room Mockup, Art Show Planner or Personal Space.
- Click the Frames button at the bottom of your screen.

- Click the CREATE button to open the Frame Builder.

Configure Your Frame
Inside the Frame Builder, you can fully customize your frame using the following options:
- Name: Assign a name to easily identify your frame later.
- Frame Width: Use the slider to define the frame’s width.
- Material: Select from a variety of materials and finishes. The textures and colors available depend on your chosen frame material.
- Floating Frame: Enable this option to create a floating effect, and adjust the gap width.
- Mat:Add a mat to your Artwork for contrast or depth. When enabled, you can set:
- Mat Mount: Choose the mount type, such as Single Mount.
- Mat Color: Pick one of the available colors, or click the + swatch to create your own custom color.
- Mat Size: Set the size of the mat for the top, bottom, left and right sides. Use the lock icon to keep all sides equal, or unlock it to set each side separately.
- Glass Reflection: Toggle on for a realistic, glossy appearance.
As you make changes, a live preview on the right panel updates instantly. You can also click Reset at any time to start over.
How To Choose a Custom Mat Color
Want a mat color that isn’t in the list? You can create your own.
- Turn on the Mat toggle.
- Under Mat Color, click the + swatch to open the color picker.
- Choose any color in the picker. You can also use the eyedropper to take a color directly from your Artwork or from the frame.
- Or enter the color code in HEX or RGB.
- Check the live preview on the right. When you’re happy with it, click Save, or Save as New to keep your original frame.
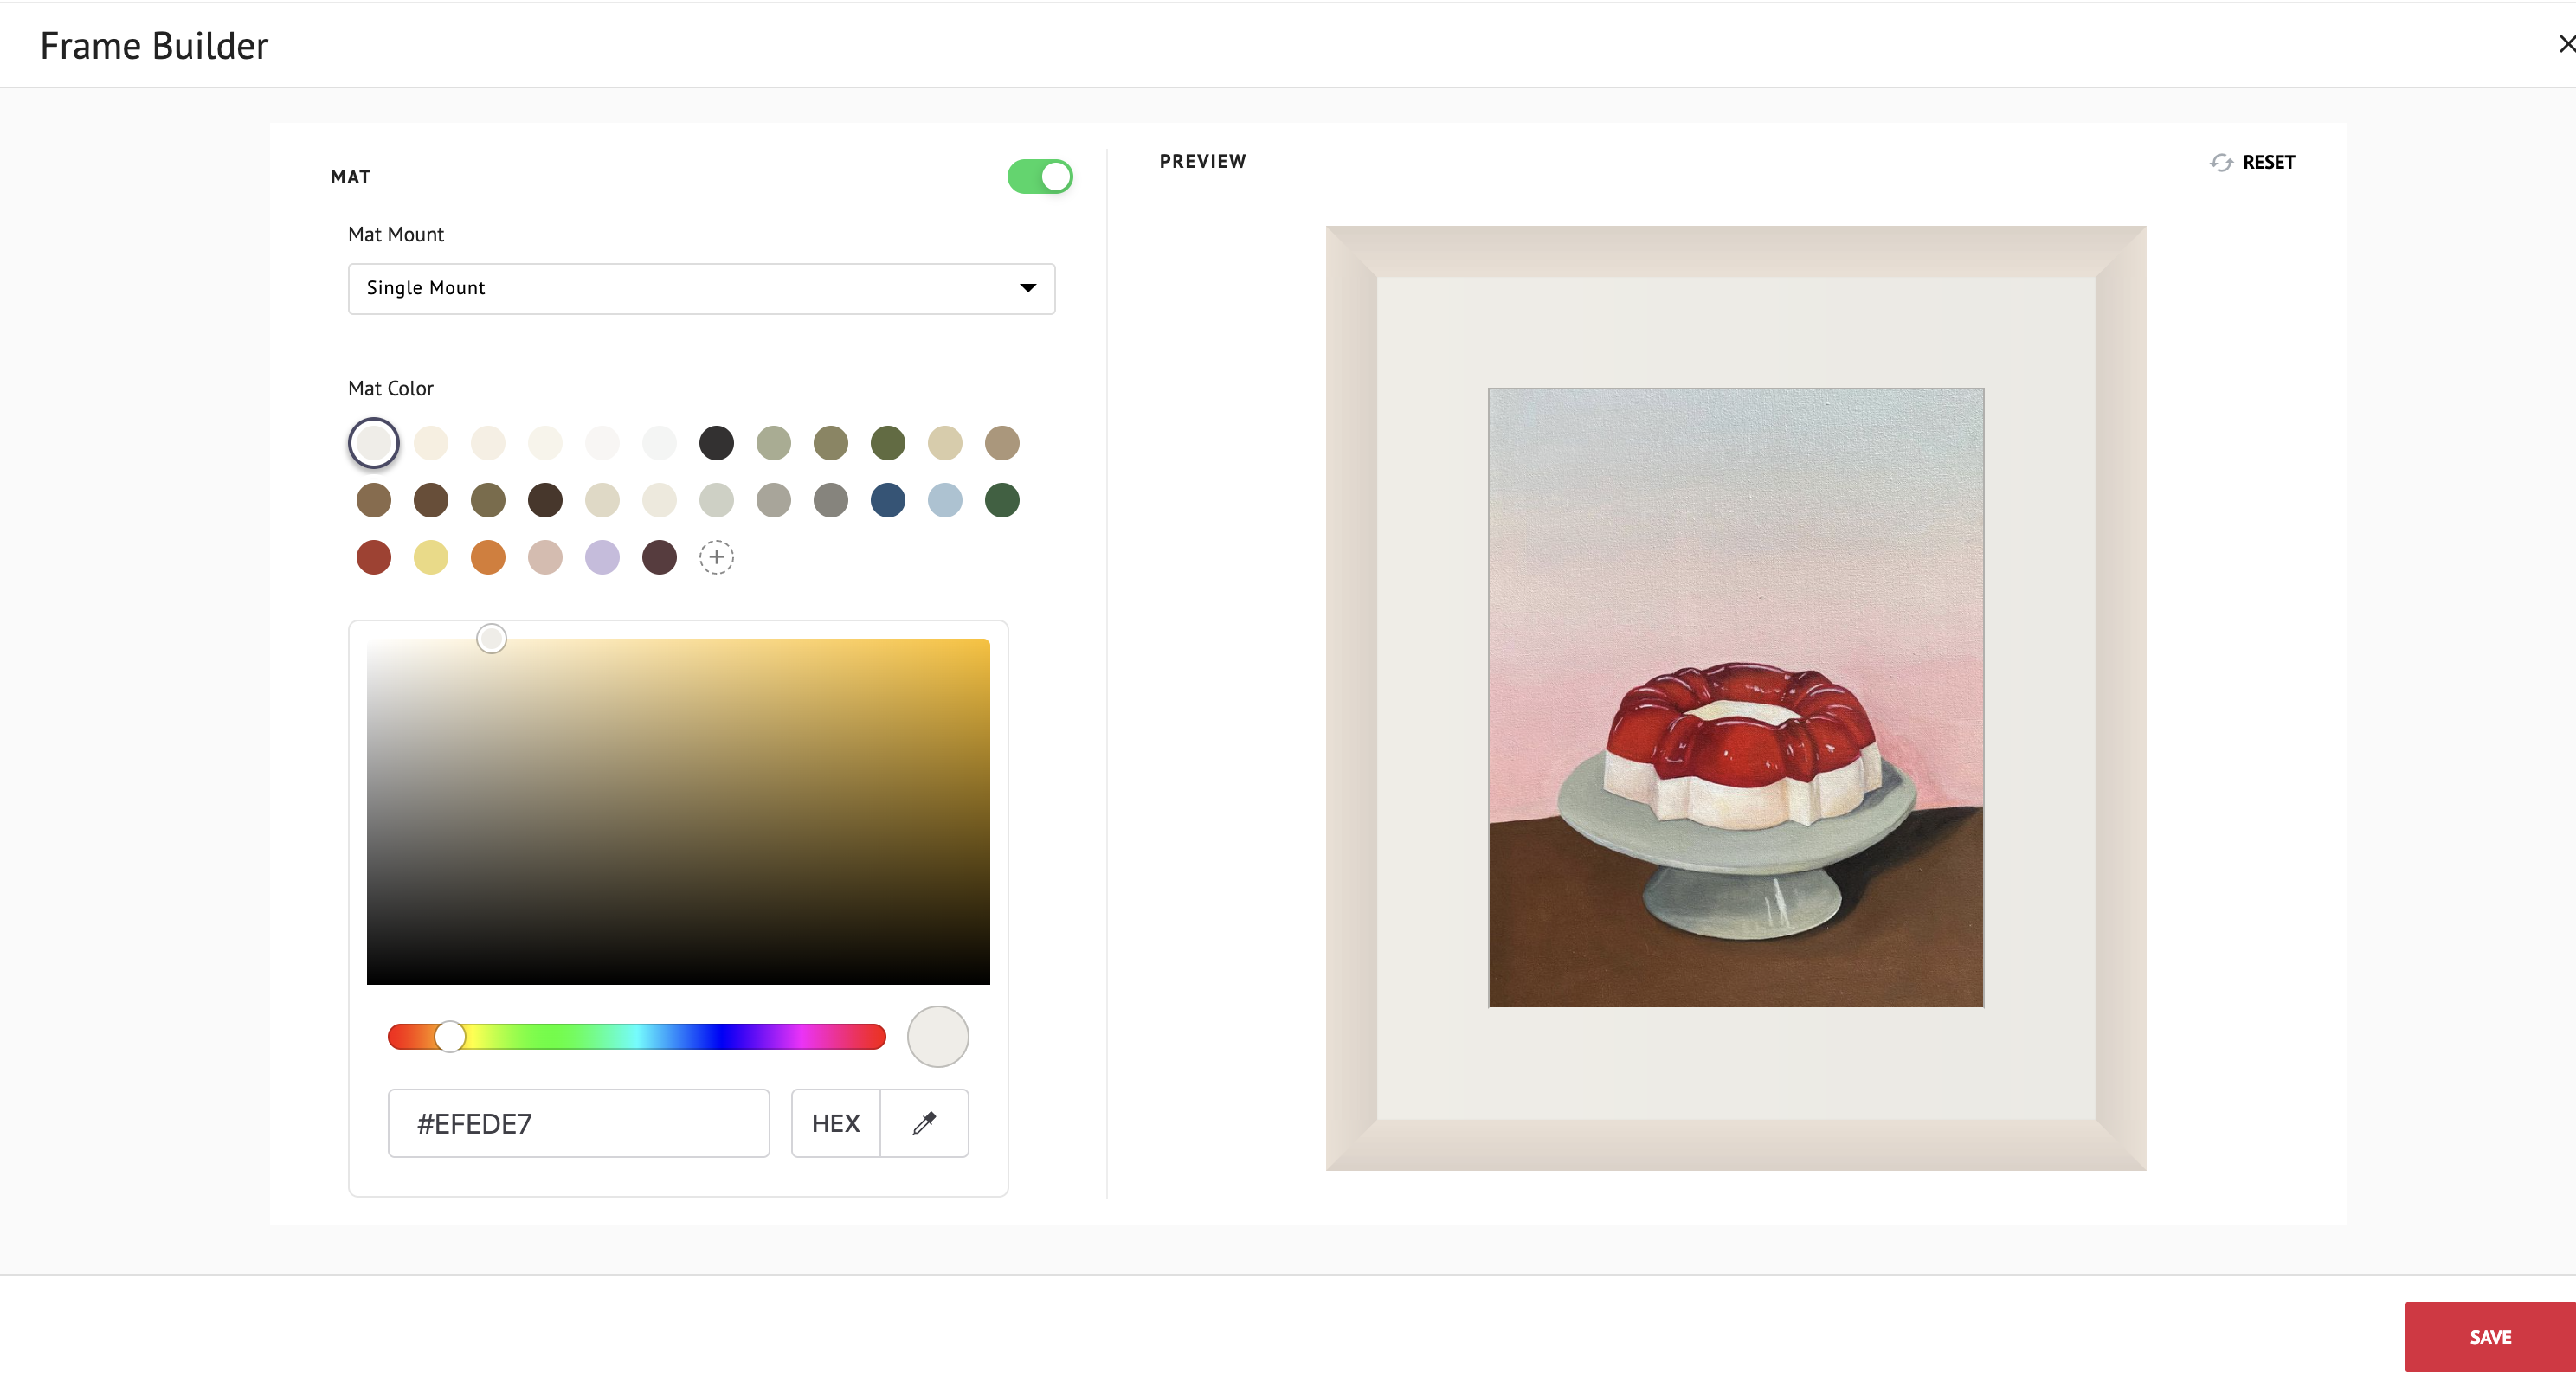
Tip: Use the eyedropper on your Artwork to find a mat color that matches it perfectly.
Frame Materials and How to Choose Them
When choosing a frame, consider both the Artwork’s characteristics (color, medium and technique) and the materials that best complement it. Here’s a quick guide:
Canvas
Ideal for wrapped or floating frames. Select the canvas edge type to define how the sides of your Artwork appear:
- White Edge: The classic option. The sides of the canvas display a clean white border.
- Black Edge: The same as White Edge, but with a bold black finish on the sides.
- Mirror Edge: Extends the image of your Artwork to the sides of the canvas, creating a seamless wrap-around effect.
Mat
Perfect for adding depth and negative space. Select a single or float mount, define its size, and pick from the available colors or create your own custom color.
Painted Wood
Over 60 color options let you craft a frame that fits any palette. Combine with a mat or floating style for contrast.
Natural Woods
Available in Ash, Barnwood, Cherry, Espresso, Mahogany and Walnut, these add warmth and texture to any piece.
Metal
Choose between flat matte, rounded shiny or ornate vintage finishes to create a sophisticated, contemporary edge.
Decorative
Explore gold trims, dark tones and textured designs for an elegant or statement-making look.
Save and Access Your Frame
Once your design is complete, click Save. You will have two options:
- Save to override the previous frame configuration.
- Save as New to create a new frame without changing the previous one.
After saving, ArtPlacer will automatically return you to your space and display the frame in the Frames section at the bottom of the screen.